How to make your own coloring book
A homemade coloring book is a lovely gift and a nice way to keep your pages together. Tell the planner how many pages you want; it tells you how much paper and which binding.
1. Choose a theme
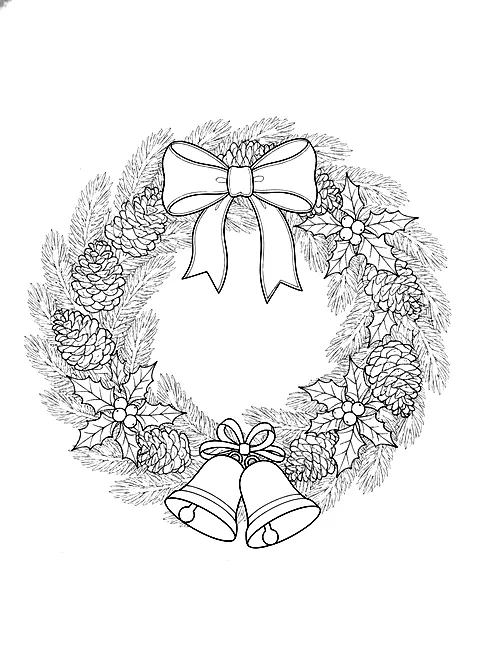
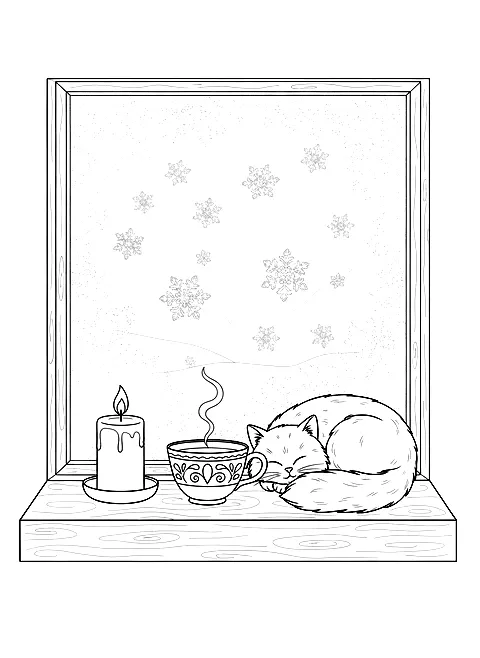
A book feels special when it has one theme: a Christmas book for December, a cozy book for a friend, a mix of bold and easy pages for a beginner.
2. Single or double-sided?
Single-sided is safer with markers. Double-sided halves the paper but needs heavy cardstock so colors do not show through.
3. Add a cover
Print one page on thicker cardstock as a cover, write a name on it, and add a blank page at the back.
4. Bind it
Staples for thin books, binder rings for medium ones, spiral binding at a print shop for anything thick: it lies flat while you color.
A ready-made booklet
Members of the Friday Print Club unlock a booklet PDF with dozens of pages ready to print.
Step by step
- 1Pick your pages. Choose 10 to 40 pages around one theme.
- 2Choose the paper. Cardstock of 160 gsm or more.
- 3Print. Single-sided for markers, double-sided only on heavy cardstock.
- 4Add a cover. Print a cover page on thicker paper.
- 5Bind. Staple, use binder rings, or ask for spiral binding.
Questions
How do I bind a homemade coloring book?
Staples up to about 12 pages, binder rings up to 40, spiral binding for thicker books.
Can I sell a coloring book made from these pages?
No, the pages are free for personal use only. You can make books as gifts.