Colored pencil techniques for coloring pages
Six simple techniques cover almost everything you will meet on a coloring page. Here is what each one looks like, and where it works best on a real page.
How to shade with colored pencils
Shading is about pressure, not about a different pencil. Decide where the light comes from, then press harder on the opposite side of each shape. Keep the same color and change only the pressure for a clean gradient, or add a darker neighbor color in the deepest shadow.
Choose the technique by texture
Match the stroke to the material: lines for wood and hair, crossed lines for fabric, dots for sand and fur, circles for smooth surfaces. That is what makes a page look finished.
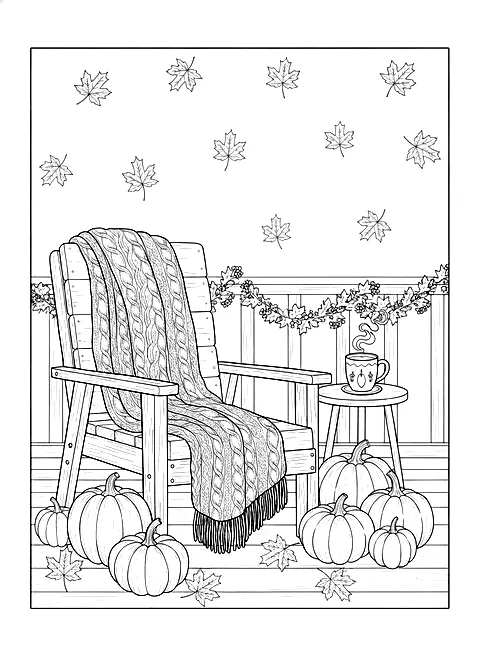
- 1Blanket: cross-hatchingCross-hatching echoes the knit texture and darkens the folds.
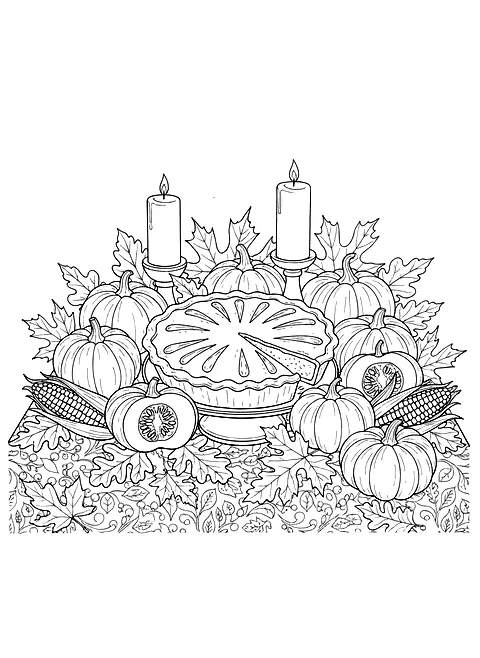
- 2Pumpkins: gradientPress harder on the side away from the light, lighter toward the top of each pumpkin.
- 3Wooden deck: hatchingFollow the direction of the boards with parallel strokes.
- 4Falling leaves: circulismSmall circles give even, solid color on small shapes without visible lines.
Pencil grip and sharpness
Hold the pencil near the end for light, airy layers and near the tip for control in small areas. Keep a sharp point for details and a slightly rounded point for even coverage on large shapes.
Step by step
- 1Find the light source. Decide where the light comes from on your page.
- 2Pick a technique per texture. Hatching for wood, cross-hatching for fabric, stippling for sand, circulism for smooth areas.
- 3Shade with pressure. Press harder on the side away from the light.
- 4Finish with burnishing. Burnish smooth surfaces for a polished look.
Questions
What is circulism?
Coloring with small overlapping circles. It gives smooth, even coverage without visible strokes.
What is the difference between hatching and cross-hatching?
Hatching uses parallel lines; cross-hatching adds a second set of lines at an angle for darker tones.